Adding a New Contact
Perform the following steps to add a new contact to your KommerceServer website.
While you can add a contact from any of the pages described in the KommerceServer Contacts topic, for this procedure, we will be adding a new contact from your Customer Portal Home page.
- Navigate to the Customer Portal Home page by selecting Customer Portal>Home. The Customer Portal Home page appears.
- Click the Add New button under the Contacts section of the Customer Portal Home page. The Contact Information page appears as shown below.
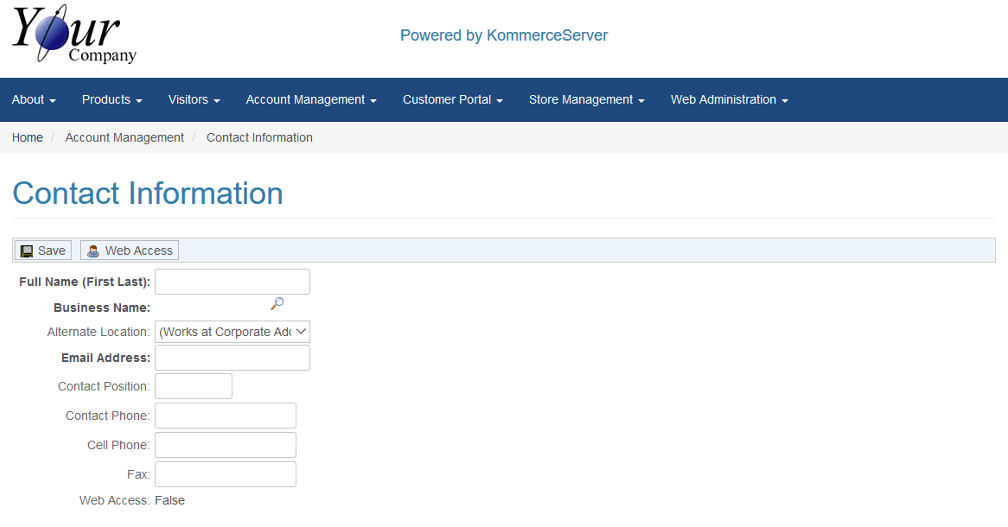
- Enter the contact’s first and last name in the Full Name (First Last) field.
- If you want to associate the contact with a different business name, click the Search icon that appears next to the business name and select the business name you want to associate the contact with.
- Enter an Email address for the contact in the Email Address field.
- Enter a position title for the contact in the Contact Position field.
- Enter an office phone number for the contact in the Contact Phone field.
- Enter a cell phone number for the contact in the Cell Phone field.
- Enter a fax number for the contact in the Fax field.
- (Optional) Click the Web Access button to configure web access permissions for the contact so they can log in to the website. The User Definition page appears as shown below.
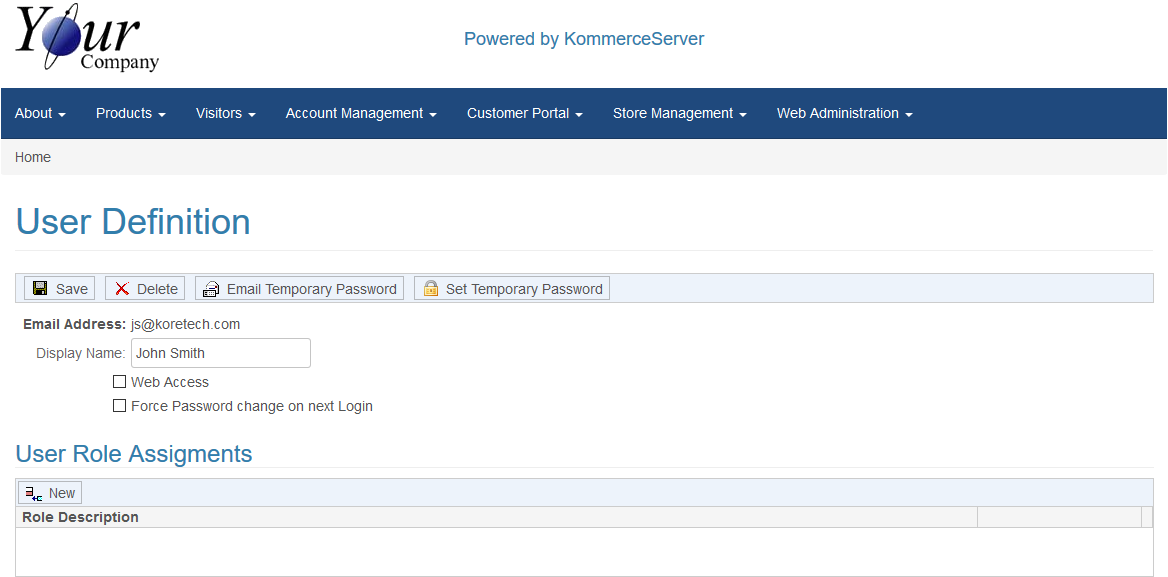
- To Email a temporary password to the user, click the Email Temporary Password button. An Email will be automatically sent to the user along with their temporary password.
- Click the Set Temporary Password button to set a temporary password for the user. A Set Password window appears. Enter the temporary password information and click OK.
- Click the Web Access checkbox to allow the user access to the website.
- Click the Force Password change on next Login checkbox if you want to force the user to change their password on their next login.
- Click the New button under the User Role Assignments section to assign a role to the user. Select the desired user role from the drop-down menu that appears.
The sales representative display module does not require that the contact linked to the sales representative is able to login to the website as the email and phone number is displayed only.
- Click Save to save your user definition.